final exam blog post
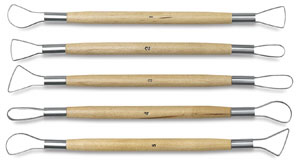
1. I have used the ribbon tool quite a bit. It helped move my carving along quickly and helped parts look more precise. The ribbon tool is used for clay cutting, shaping, and slicing. I also used to pottery wheel. It helped ,i have a better understanding on how to shape clay using other methods than the slab roller. the pottery wheel is used for shaping clay in a round shape and helping to speed up the trimming of excess clay.

the rest of my pictures are at the end of the questions
2. At the begining of the semester i did not think i would use every tool and that some of them didnt seem useful. I ended up using every tool at least once and started to understand why the were so helpful and useful. I understand more clearly now that tools all have their specific purpose and are very helpful in every clay project. I also understand that some tools can be used in ways i did t think they could have been used, like the metal scraper which i used to add texture to my figurative piece.
What is a technique you used in your artwork that worked well? Explain what technique it was and why it was successful.
I used the technique of using the wooden rib tool to smooth EVERRYTHING. I really like this technique and it makes my pieces look pretty good. It smooths everything over and even helps in the score n slip process of putting together clay. I used the wooden rub tool the most in my sgraffito making sure my plate was super smooth.
What is your least favorite material to work with and why? How did you deal with it, what didn’t you like about it. Please explain
my least favorite material to work with was paper mache. i disliked this one so much. it was sticky and smelly and hard to get a good coat of paper on the whole thing. It also made such a big mess and was the worst to clean up. I also really didnt like the whole process, paper mache just is NOT for me. I really didnt like the gluing down part of the paoer the most though, it was hard to get them to lay flat, straight, and thpk go around the edges of the carboard neatly.
Choose 1 piece of art that you used skills and techniques learned from previous projects. Discuss your growth as an artist and how you incorporated these skills and techniques to create the piece.
in my firguratuve piece project i used skills and techniques i learned from previous projects. I used the slab roller to cut piece and the score n slip method to put together my slabs. I used the texture mthod from the previous rock, cloud, and fur texture thing we did. I used the same spool brush and a metal scraper for fur to create a fur like texture . I grew as an artist when i started realizing i couldnt make the best pieces in the world, but i could make unique pieces. I used these skills to make my penguin unique, i added fur, and penguins dont have fur.


finished sgraffito
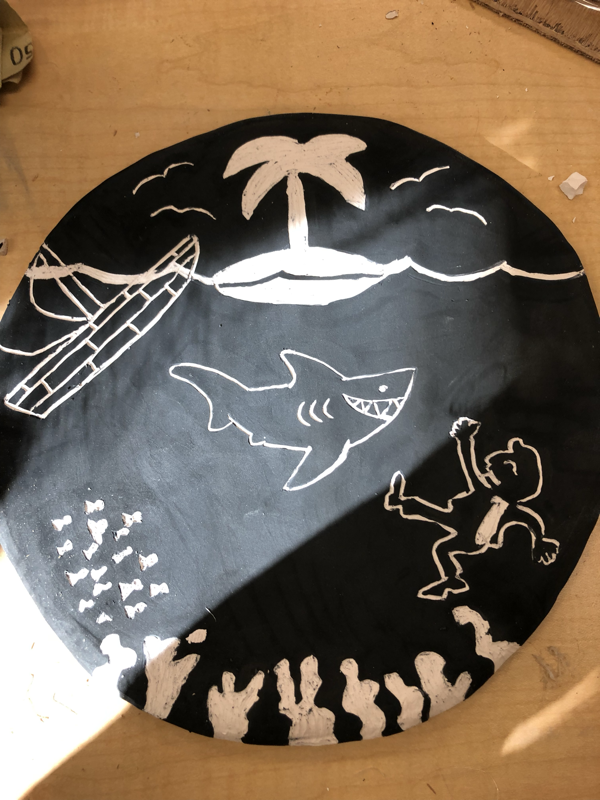

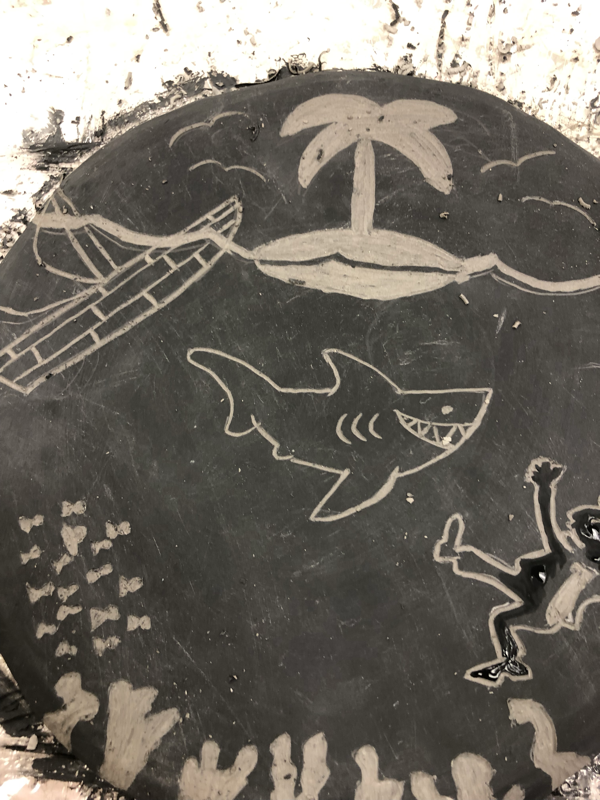
1. I molded clay into the shape i wanted for my plate and then let it semi dry and when it was i carved the edges a little bit. I then painted the whole piece with underglaze. when the underglaze dried i used a ribbon tool to carve my scene into the plate. I then fired my piece once and put glaze on it and then fired it again.
2. I really liked the sgraffito process. it is not that hard and really fun to carve things.
3. my piece was successful in the most of the pictures and the overall idea of my story. If i were to do it again i would maybe make sure to for sure carve every little bit of underglaze from the parts its not supposed to be amd i would fix how the fish look.
inprogress sgraffito
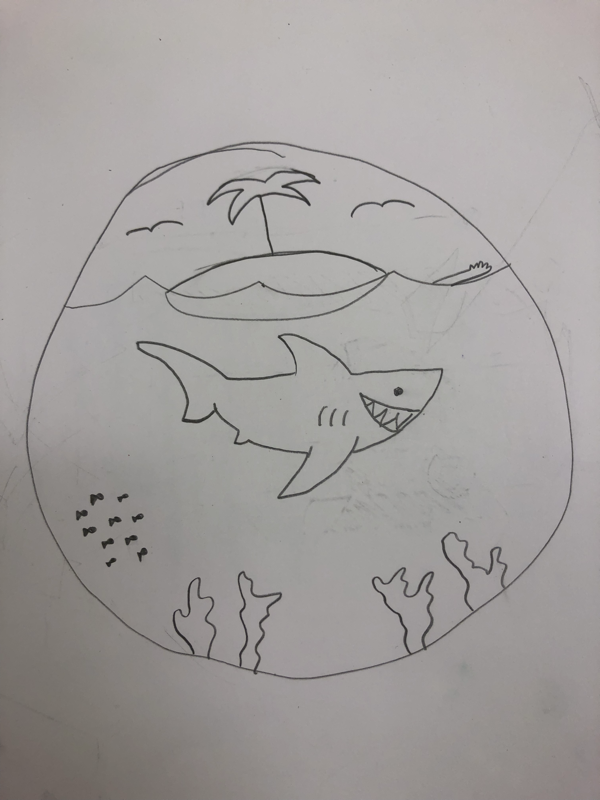
1.i got my idea from sharks and the ocean (and hawaii five 0). I was inspired by creating a scence with a story.
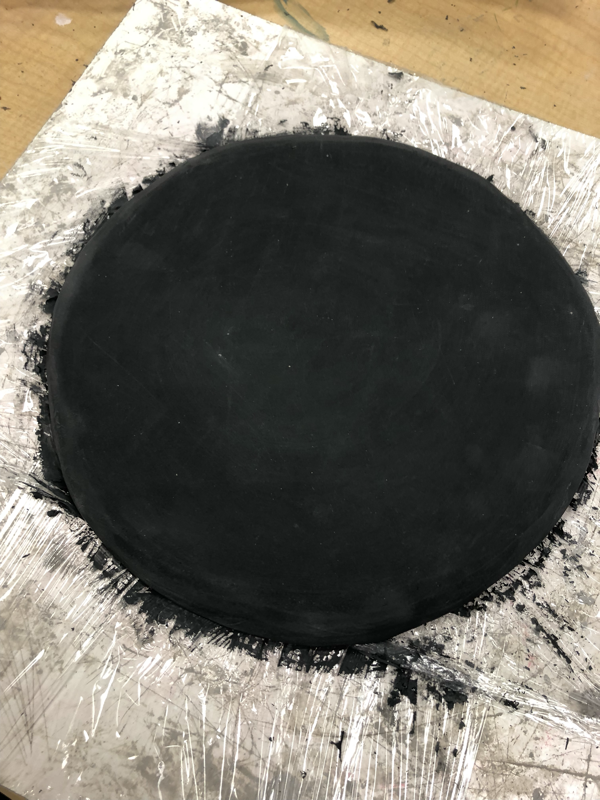
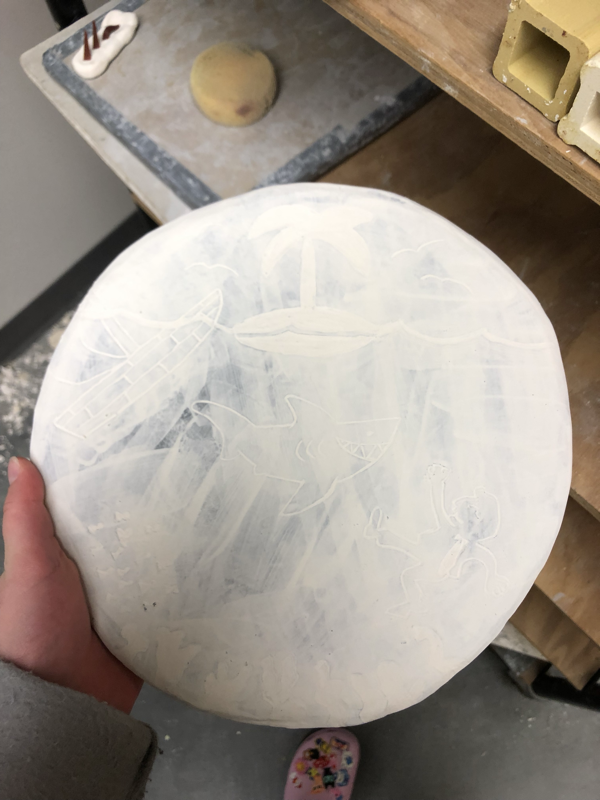
2. first i just took a slab of clay and molded it to a plate shape, i didnt use a template. I then waited until it was somewhat dry and then i carved the edges using a ribbon tool. Then i let it dry some more and then used underglaze to paint a few layers on to my piece.
2. first i just took a slab of clay and molded it to a plate shape, i didnt use a template. I then waited until it was somewhat dry and then i carved the edges using a ribbon tool. Then i let it dry some more and then used underglaze to paint a few layers on to my piece.
figurative project

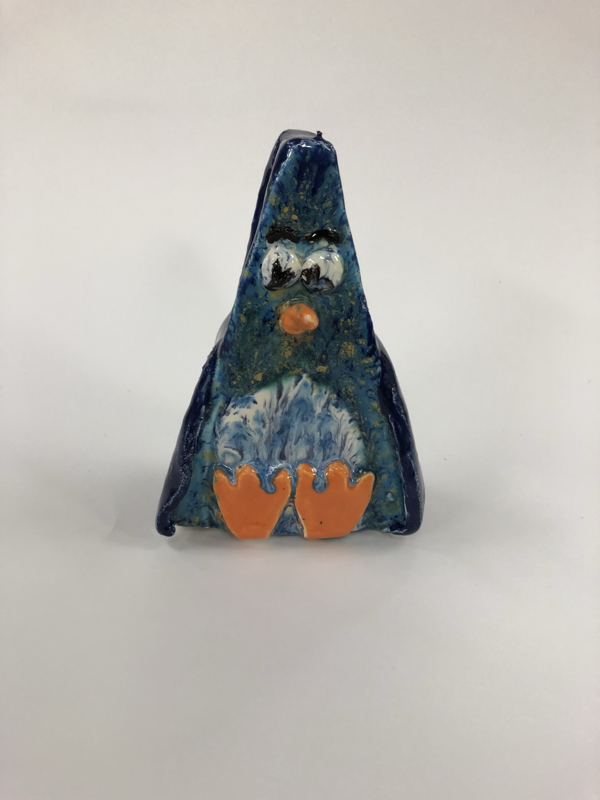
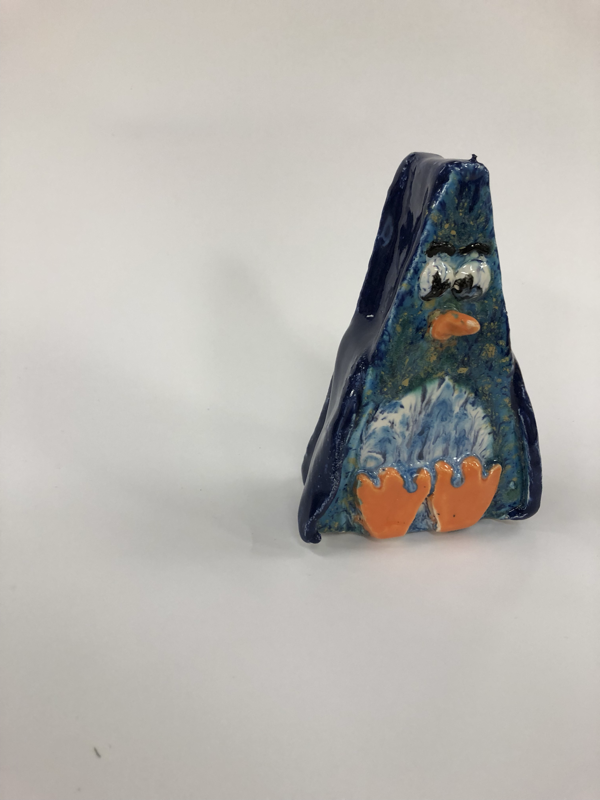

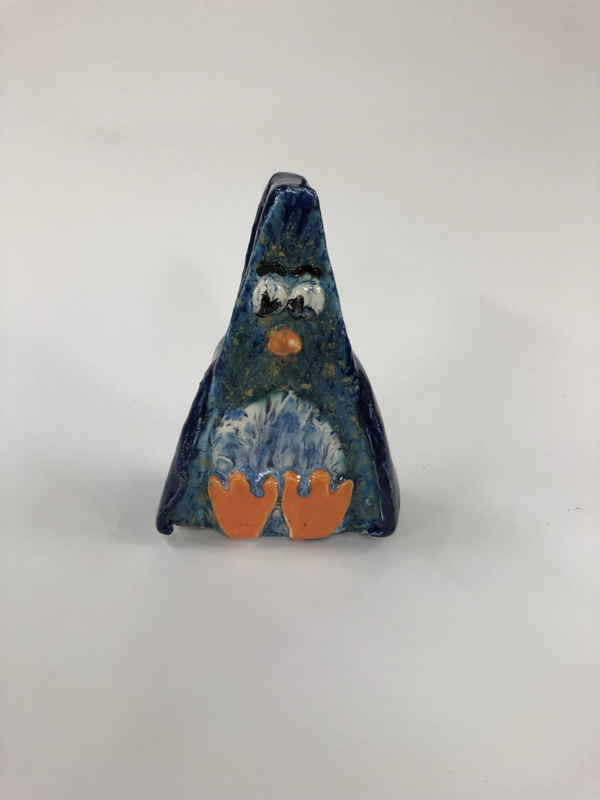
1. I made a clay penguin. First i started out by just molding a penguin. but then i had to redo it because it needed to be hollow. So next i redid it and i measured out slabs for my penguin. I next put the slabs together using score n slip methid and making sure all of my clay sticks together. next i molded out a beak and eyes. i then used a small piece of clay for the stomach and i smoothed it out very thinly. next i added texture by use a spool brush to resmble some fur. then i added feet. next i fired the piece once and then i painted it and fired it again.
2. my piece was succesful in the shape. it looked very good and the texture also looks pretty good.
3. I had difficulties in when i accidently used too much paint and it dripped a little bit but it still looked okay.
2. my piece was succesful in the shape. it looked very good and the texture also looks pretty good.
3. I had difficulties in when i accidently used too much paint and it dripped a little bit but it still looked okay.
moasic
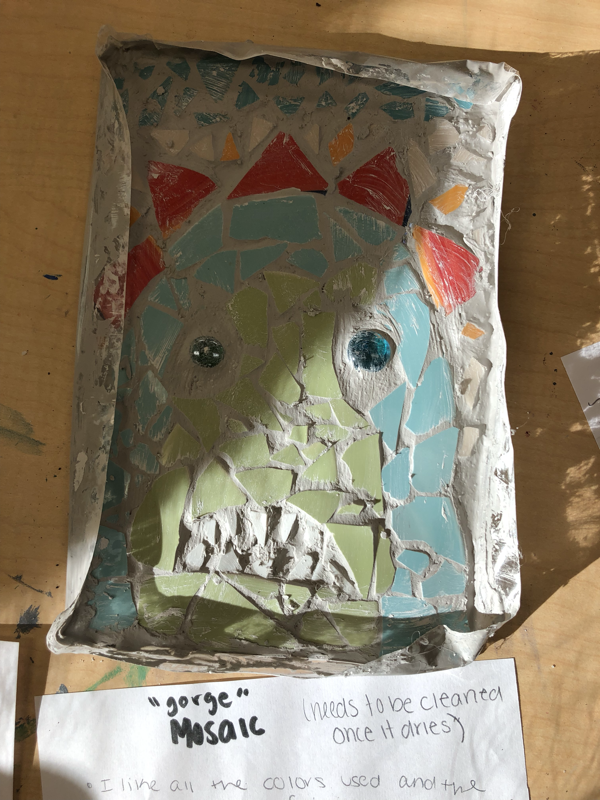
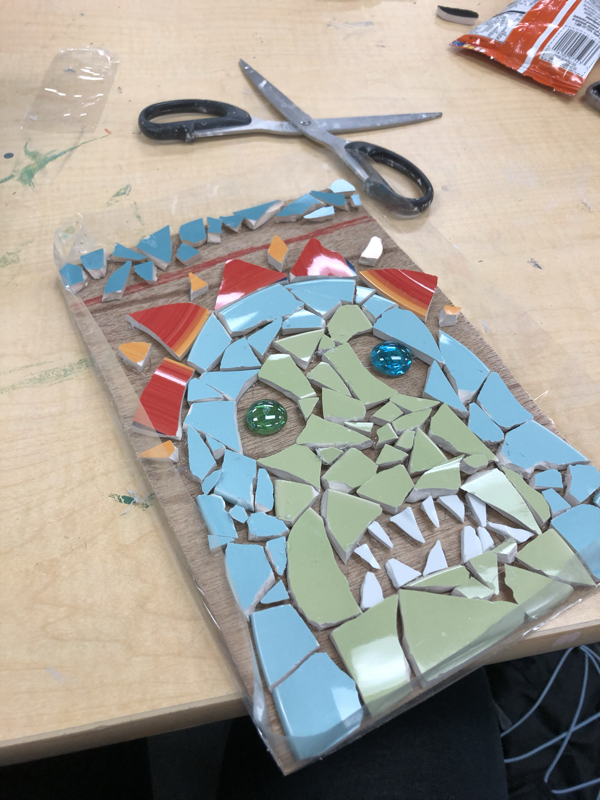

1. I designed the piece the way I did because I wanted something unique but also my “brand”. I was going to do a shark head coming out of the water like the jaws poster but it kind of took on a life of its own. My subject is a monster named jorge.
2. I found smashing pieces to be the perfect size the most difficult. I had to go and smash pieces abour five different times to get the right fit.
3. I found that just going with the flow to be the most successful. if my pieces didnt fit i would just keep trying. if i needed to add more i just kept messing aorund with the piece. If i were to do this again i would probably do a better job on the grout.
throwing on the wheel
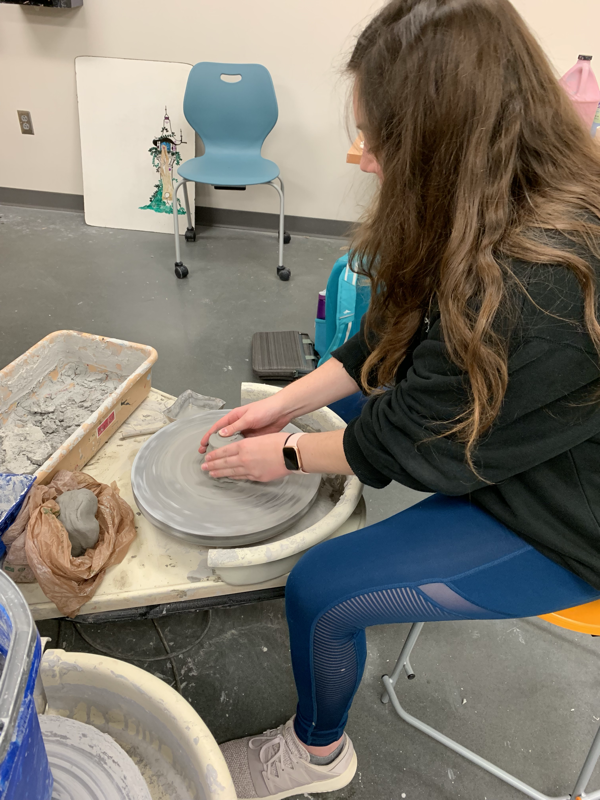
1. First you pick out a piece of clay the size of your fist. Then you wet the table just a little bit. Next you start the spinning of the wheel while shaping the piece with your hands. When your piece is shaped how you like you have to use wire cutters to remove it from the wheel.
2.I had the difficulty of finding the right speed to work with.
3. I found the art smock successful because clay flew everywhere.
2.I had the difficulty of finding the right speed to work with.
3. I found the art smock successful because clay flew everywhere.
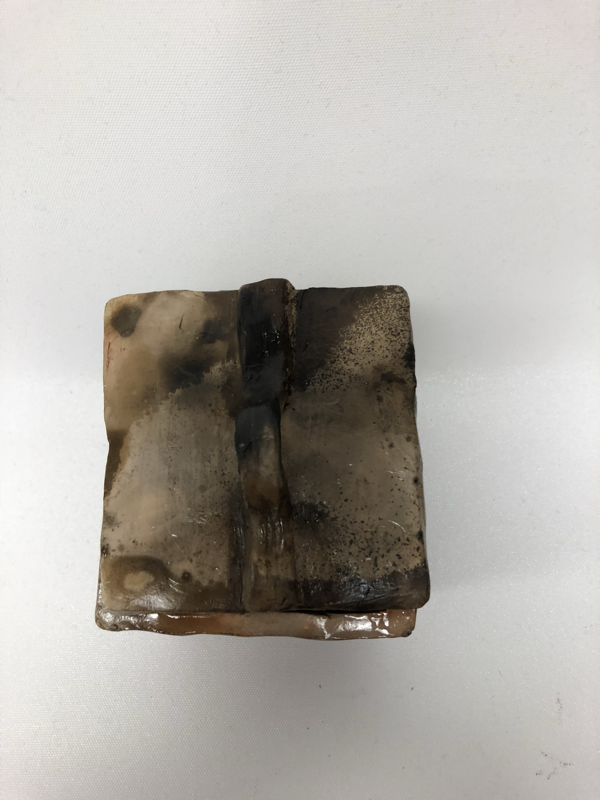
pit fire finished


I STILL DONT HAVE AN IN PROCESS PICTURE IM SORRY
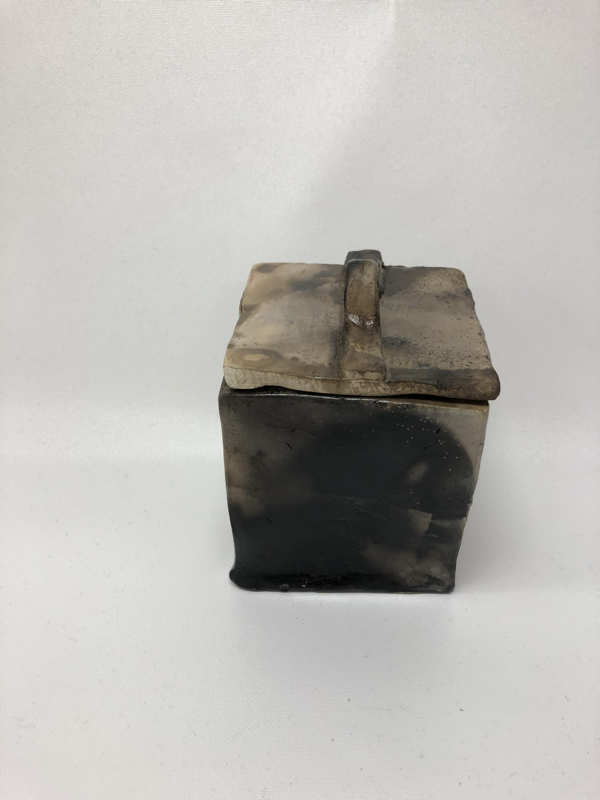
1.the pit fire process starts of with a normal clay piece being sculpted. Then it goes through the kilm. Next, instead of painting the piece, it is to be put through a process. First it is “decorated” with things to change the look of the piece. It is sprayed with a sulfate mixture. then things are added such as salt, leaves, hair and cardboard. When you finish decorating the piece you wrap it up in paper and tinfoil. Then the piece is fired again but in a pit. Then it is placed into a oxygen poor environment/box where colors can develop.
2. I feel my piece is successful in the way of the reds and oranges turning out. I dont feel successful about how black some parts turned out, i wish i added more color. I would add more things to my piece to add color if i were to do it again.
3. I burned leaves, cardboard and salt onto my piece.
Group Project (Butterflies)
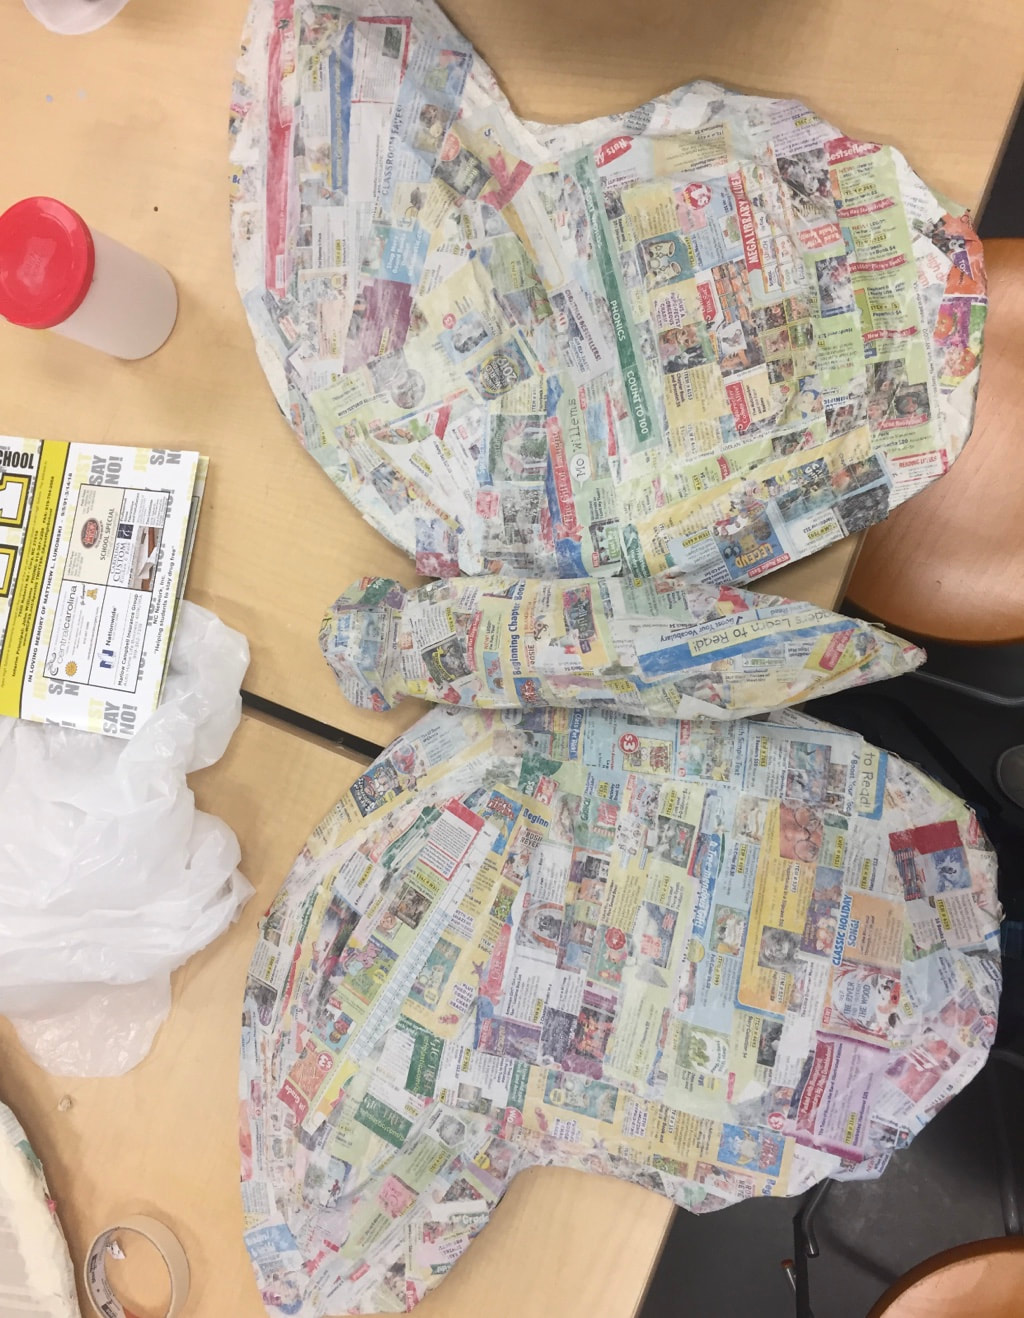


1. Group: Me, Kendal, Angelina. What we all did: me and kendal cut out the pieces of cardboard and angelina wasnt there that day. then we all taped around all of the cardboard so we had a smoother piece. we all took turn making the mix and all worked together to cut up the pieces and pasting them. we kind of moved as a unit and did all the parts together and then moved on to the next part instead of one person ripping paper and another person pasting it down.
2. the first step was to come up with an idea of what we wanted our butterfly to look like. next we started on the cardboard, we drew it out, cut it and then assembled the wings. next we put a layer of tape around the cardboard areas. then we started on the layer of paper coated in the mix of water and flour. after doing a few layers of that we glued together the head piece and the two wings. then we did more layers to cover it. next we would sandpaper down the edges so there are no rough parts. then we would paint it
2. the first step was to come up with an idea of what we wanted our butterfly to look like. next we started on the cardboard, we drew it out, cut it and then assembled the wings. next we put a layer of tape around the cardboard areas. then we started on the layer of paper coated in the mix of water and flour. after doing a few layers of that we glued together the head piece and the two wings. then we did more layers to cover it. next we would sandpaper down the edges so there are no rough parts. then we would paint it
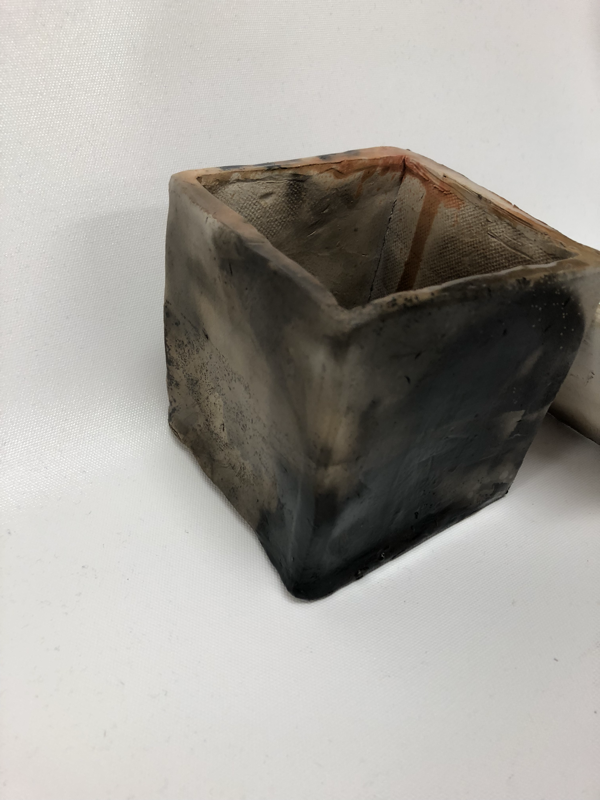
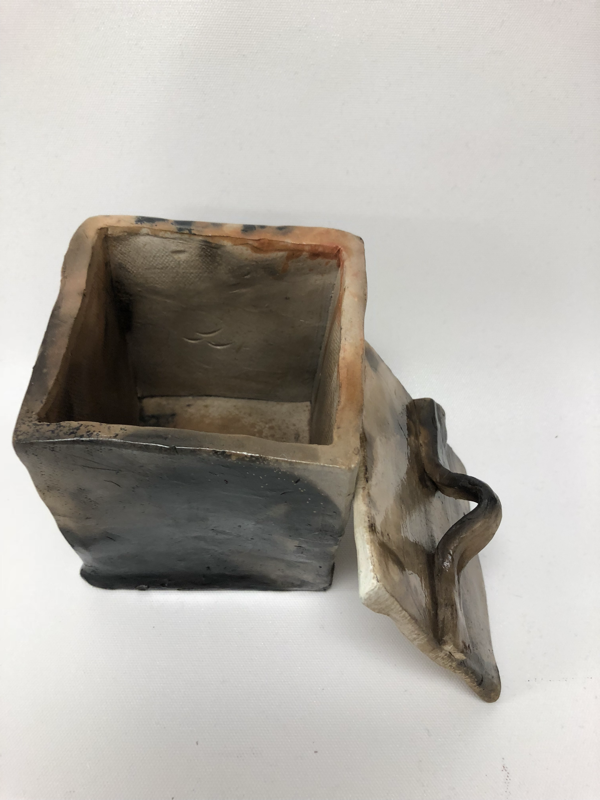
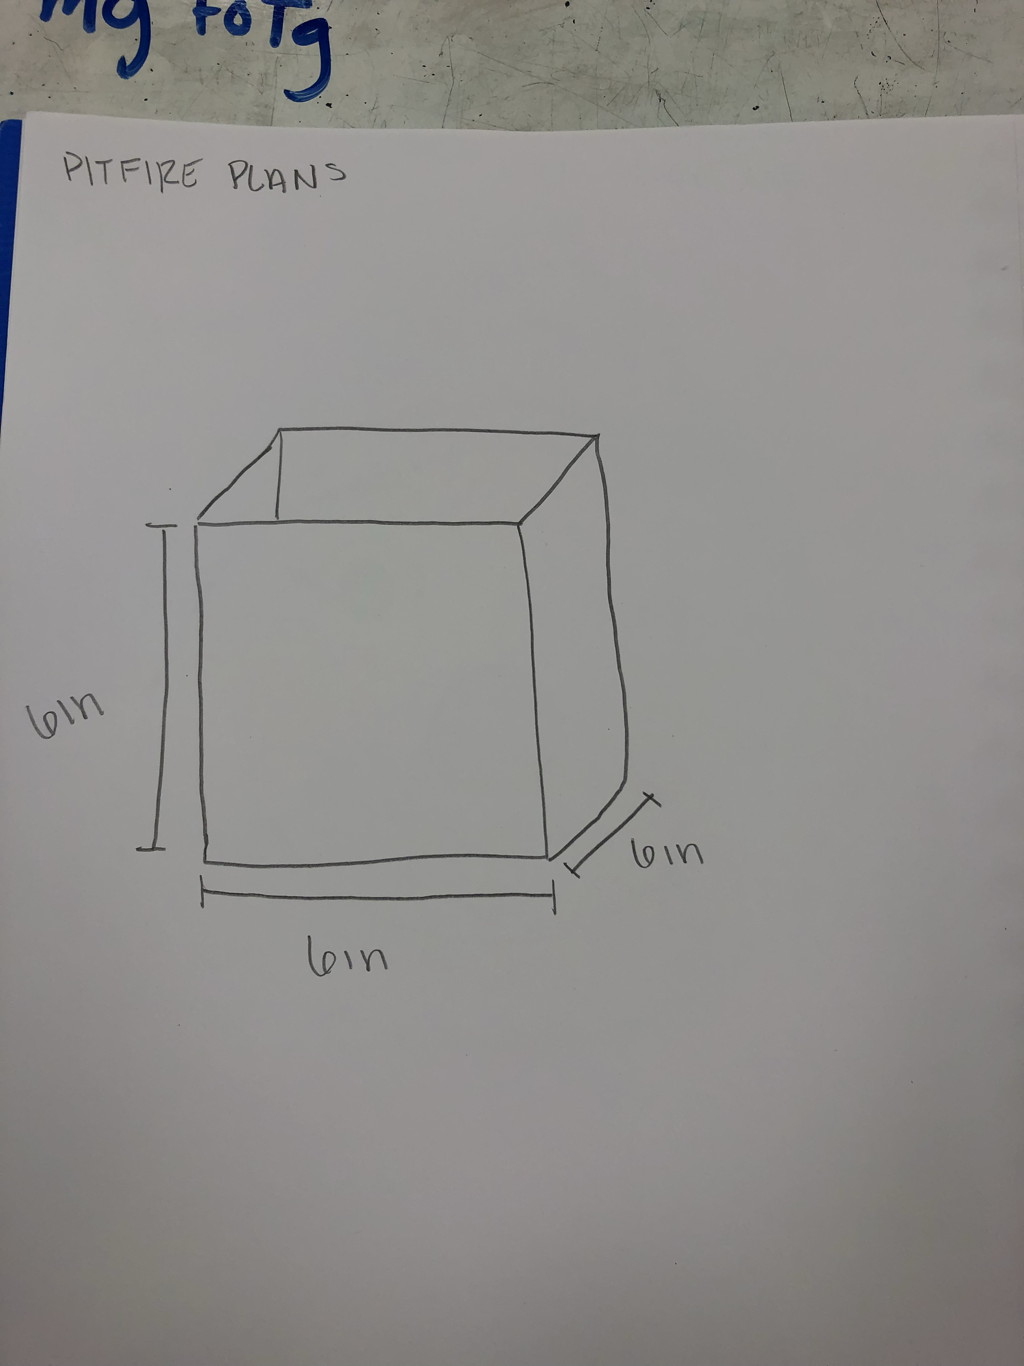
Pit Fire in progress ( PLEASE DONT TAKE POINTS OFF BUT I DONT HAVE A PICTURE OF IN PROGRESS IM SORRY)
1. progress so far : so far I have sculpted the piece and it has been through the kilm and have wrapped in in tinfoil and added leaves and such to it.
2. A difficult part I have cone to so far is making all the walls even, the same height and thickness. One thing that has worked well so far is making the walls pretty thick, so they dont collapse easily.
3. From here I plan for my piece to go into the pit fire. My design has changed from my oroginal plan ad I have added a lid.
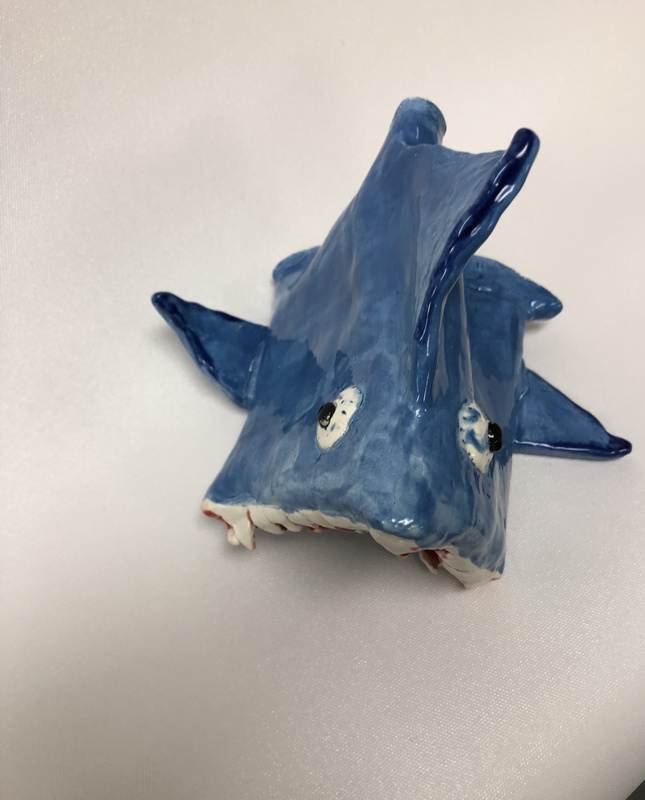
Tripod Cup


I dont have a picture of my piece in progress sorry
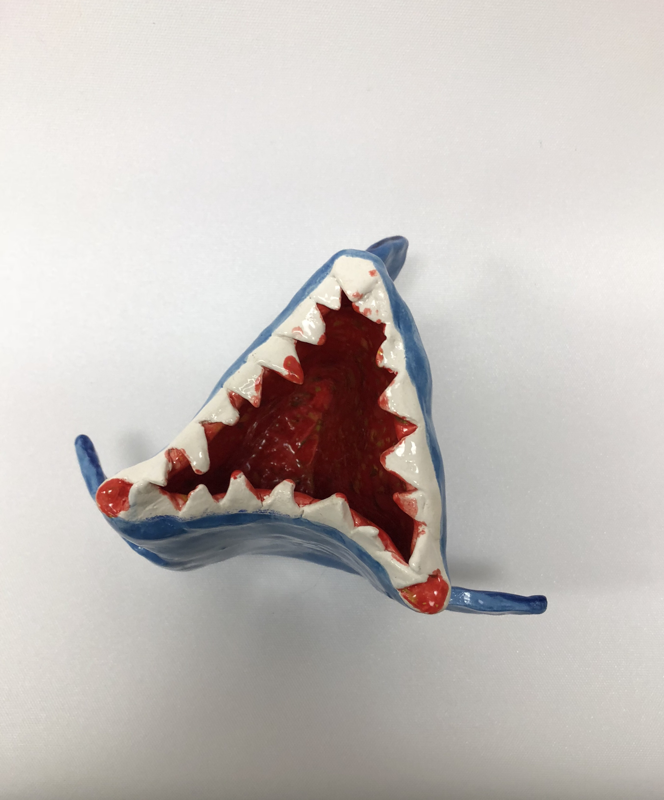
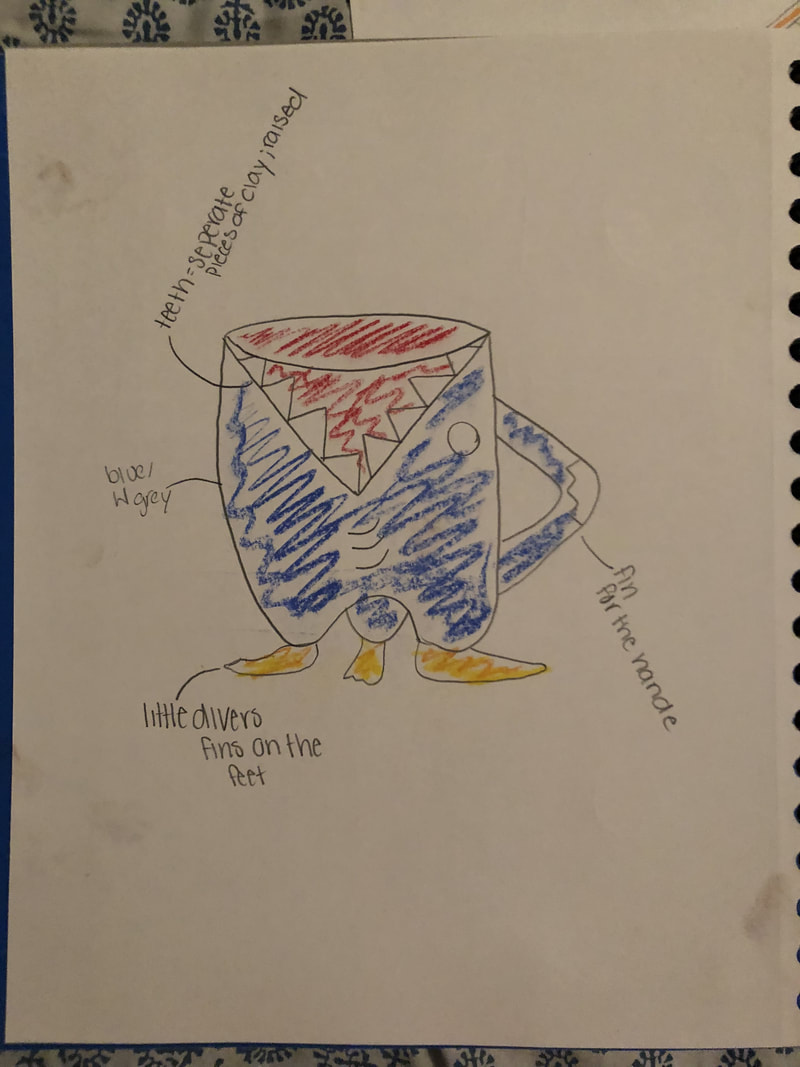
1. My process of the mug. i started with a large slab of clay which I then rolled into the shape of the mug. i shaped it more triangular then circular to look like a shark jaw. I then added the three fins on all the corners. Next I added the teeth on the top of the mug. Lastly I added eyes. When the piece was then dried, I painted it.
2.I do not have a handle, instead i made triangular shark fins
3. I find the whole mug successful, as it is used to hold things like pencils instead of being used to drink out of. If I were to change anything about my mug, it would be all the teeth I added, some of them look very unnatural.
4. Clay Slab: It is a slab of clay used for sculpting, it can be made into many shapes
sgraffito
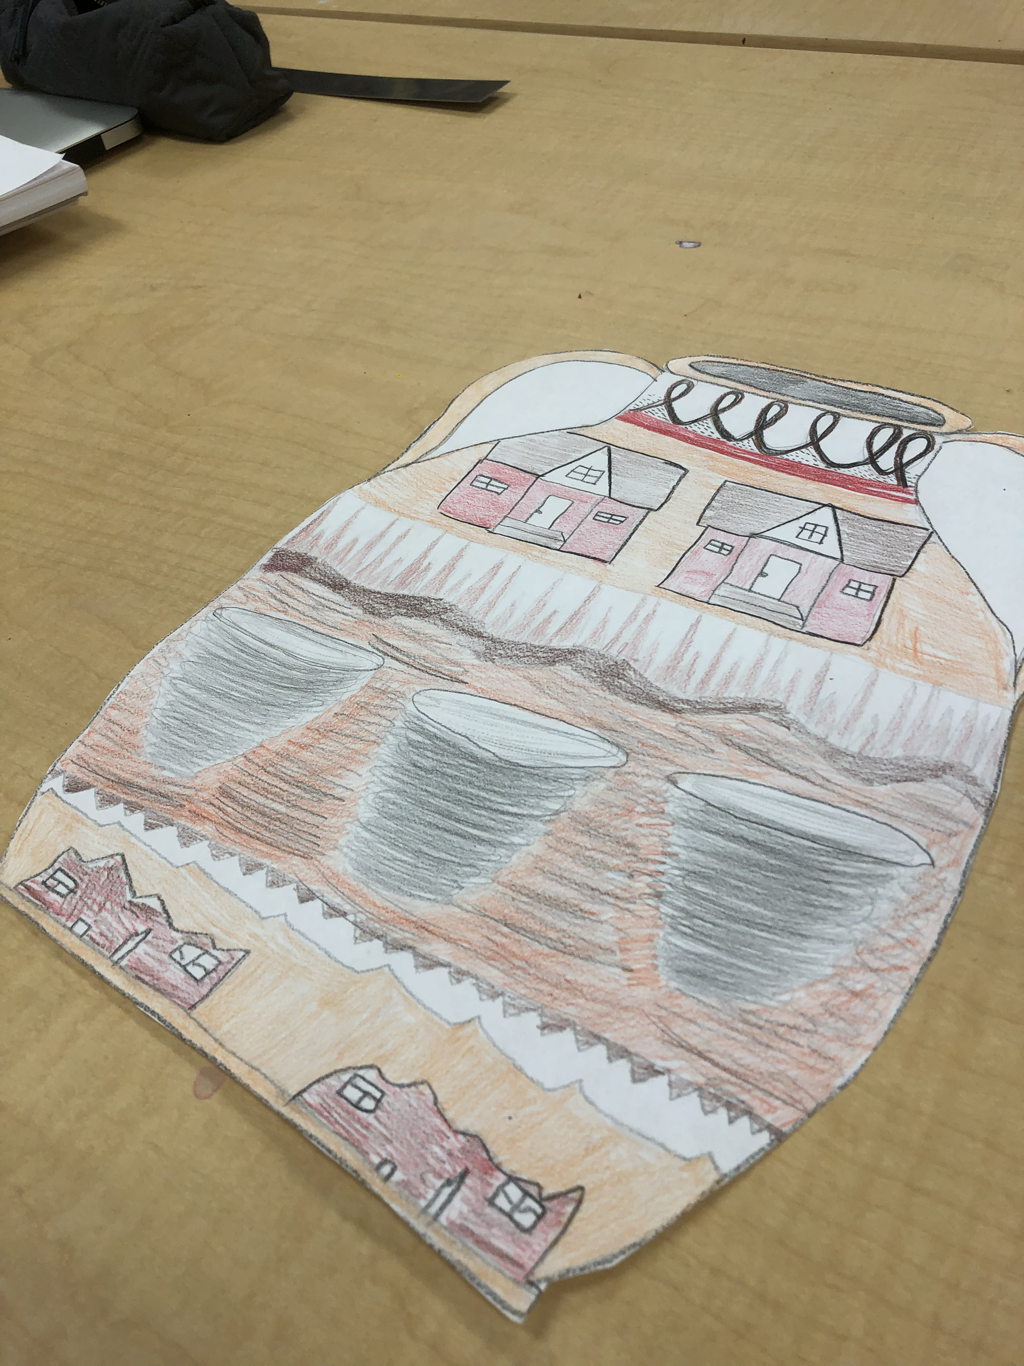
1. Pelike vase. Used as storage for wines and oils.
2. I helped color everything that was was drawn.
3.Scrafitto- a form of decoration made by scratching through a surface to reveal a lower layer of a contrasting colour, typically done in plaster or stucco on walls, or in slip on ceramics before firing.
Registers- a horizontal level in a work that consists of several levels arranged one above the other, especially where the levels are clearly separated by lines.
pit fire
https://pin.it/ll4csvfiuqo2gs inspiring pit fire pieces
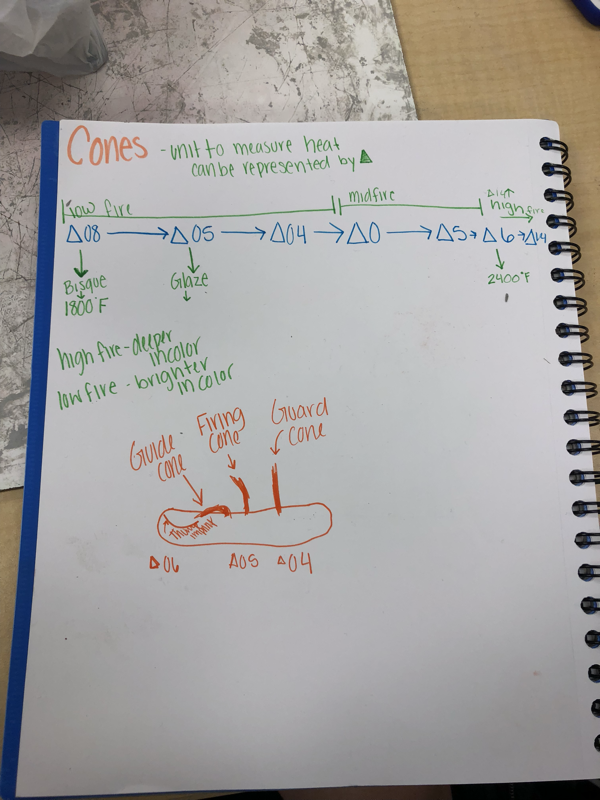
Cone Notes

Inspired Artist - Joe Suzuki
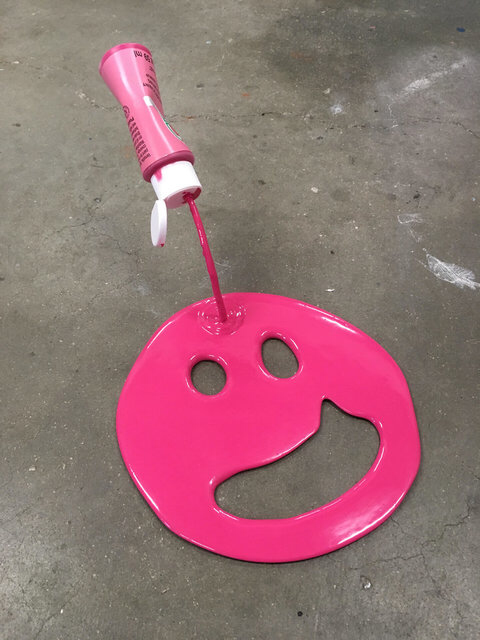

About the Artist-
Joe Suzuki is a Japanese-American artist born in 1976. Suzuki does sculptures, prints, and canvas painting. He is mostly known for his “Happy Accidents” sculptures. These scultpures make it seem as paint is spilling out of a bottle or can and that it spilled into a perfect shape. Suzuki recently did a collection with Playboy, The Gold Bunny collection. This collection includes 20 pieces in the Happy Accidents series. Half of what is made from the pieces will be going to an organization that rescues children from prostitution and sexual exploitation. Not only does Suzuki do The Happy Accident Series, He makes sculptures in the form of realistic bags from popular shops and food chains. These sculptures of his are very realistic.
Site: https://www.joesuzuki.com/
What I like about their work:
I really enjoy his work becuase he does some sculptures of this artist’s, Keith Haring, paintings and Keith Haring is my all time favorite artist. His scultpures of Haring’s work is what drew me in to this artist’s work, but I actually do find his other artwork very interesting and unique. I really enjoy his other sculptures aswell, especially the happy accident ones in tribute to famous people and things in pop culture. I really like what he is doing with Playboy and how he is donating half the proceeds to an organization. I really enjoy the color scheme used in his Happy Accidents Series. I also really enjoy how he makes the realistic bags from popular places, I think thats really cool how realistic they look and how crazy it is to recreate a bag from a store. I enjoy the overall vibe from Joe Suzuki’s work.
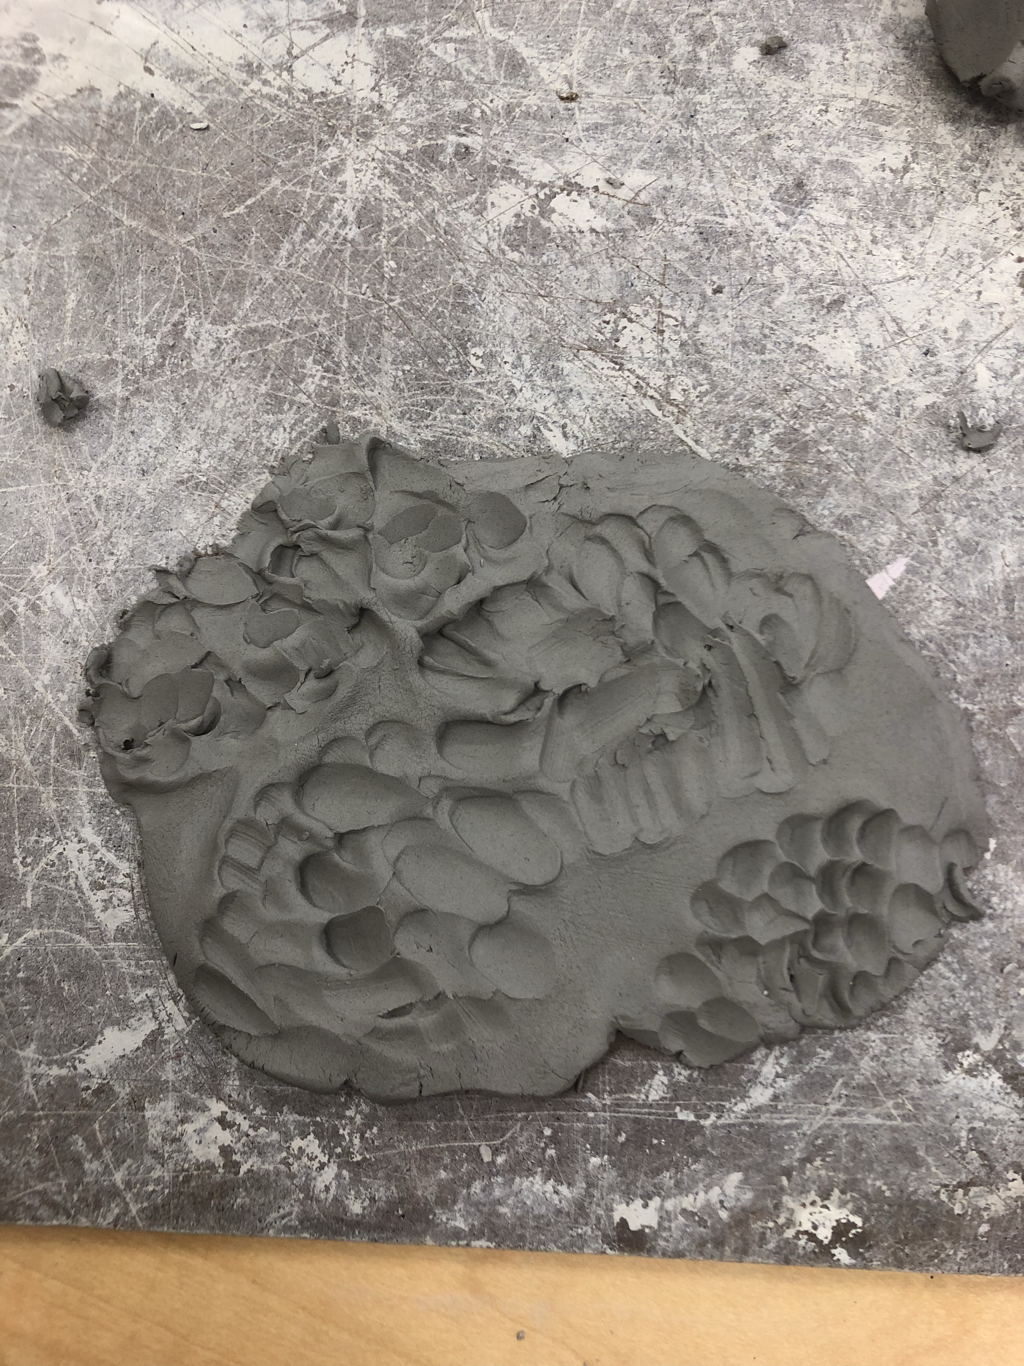
Copying Cloud/Rock/Fur
clouds^
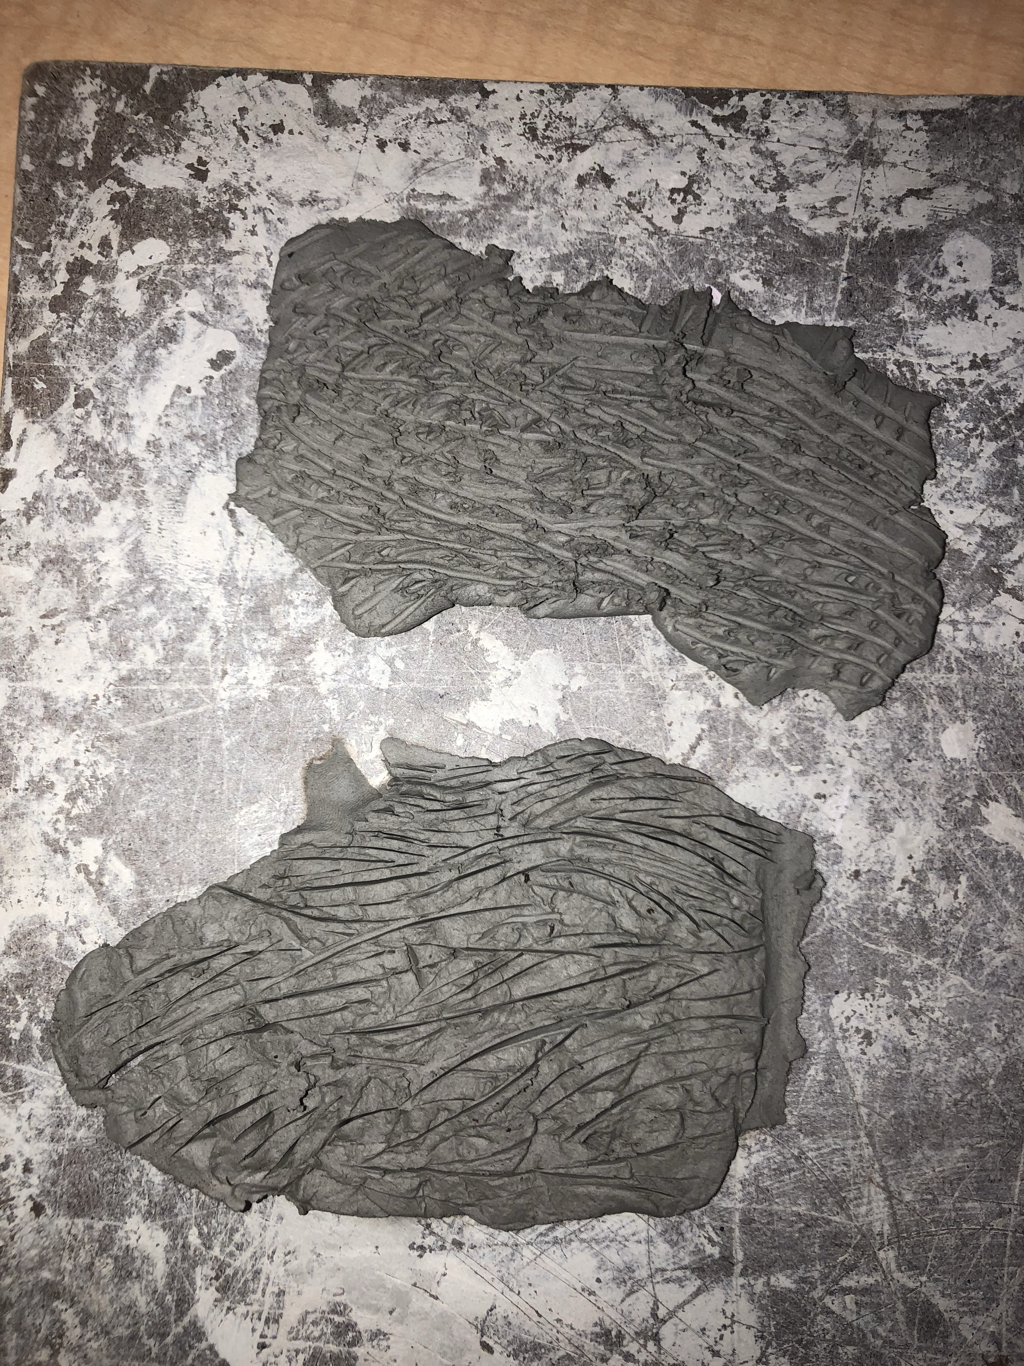
top: fur
bottom: bark/rock
bottom: bark/rock
Tripod Mug Plan
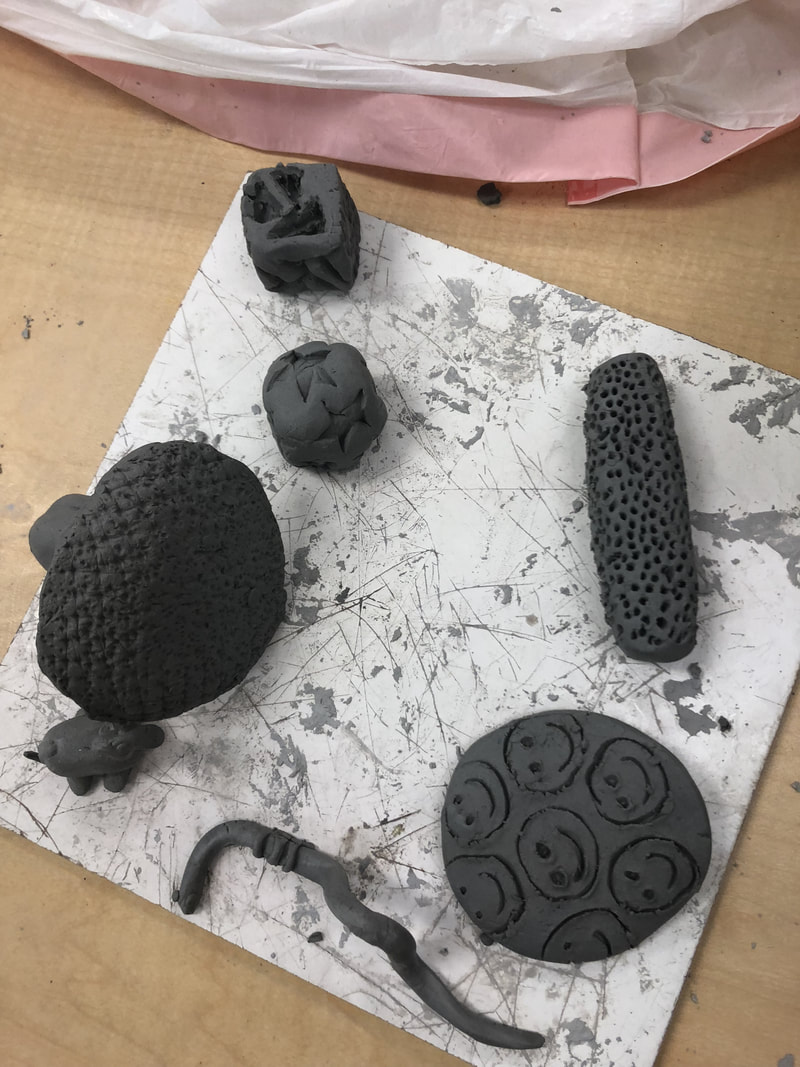
Practice Clay Stamps
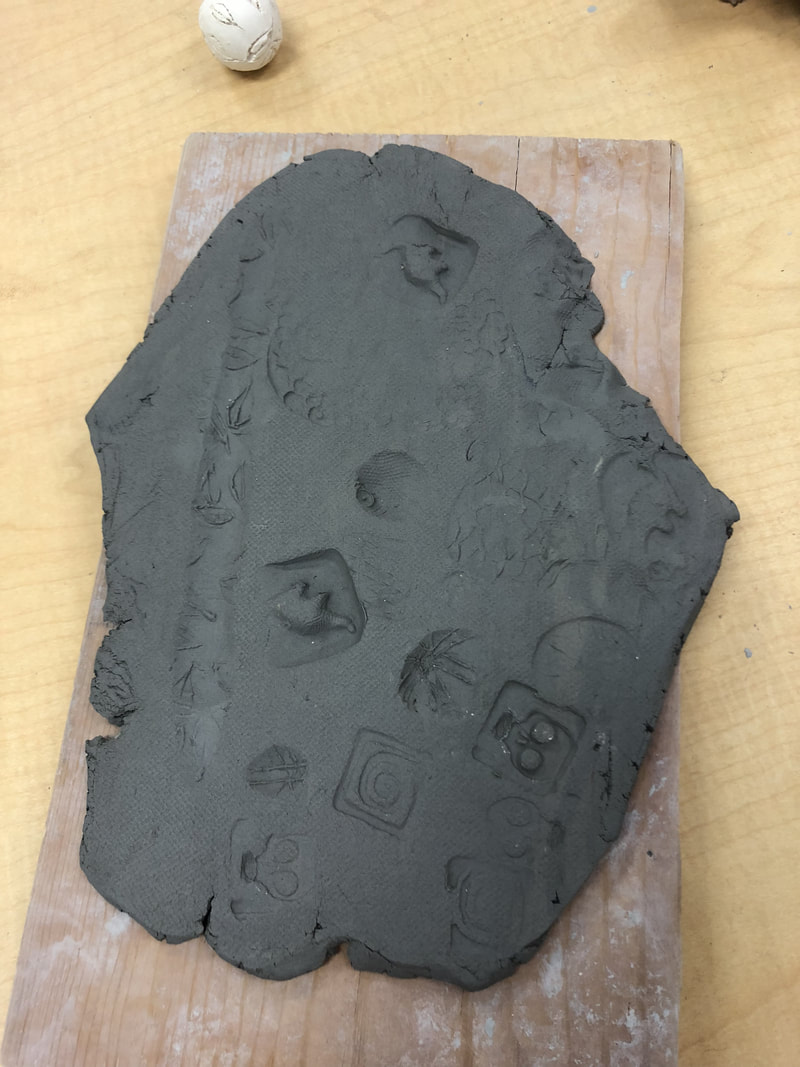
1. What did you find worked well and what stamp did not? Why do you think that is?
The stamps of the dinousaur and the skull worked well. The stamp of little patterns did not work as well. I think that is because it is harder to make a good pattern than to just carve out one object.
2. Do you think that the practice will influence what you will make for your own stamp?
Definitley, I want to make something like the dinosaur, but maybe a shark.
Finished Clay Stamps